 Here's a little hostess gift I made for a friend. Yes, those really are Stampin' Up! emery boards and they match the Thoroughly Modern designer paper--is there no end to the creative ideas at company headquarters?! These are a supply item available only to demonstrators--just one of the many perks to the SU team. Anyway, here's how I made it:
1. Cut a 3 x 12" piece of Thoroughly Modern DSP
2. Place two emery boards on the paper and fold the two ends in toward the center--they won't exactly meet but that's okay because the belly band will cover it. Place a piece of sticky strip on the each inside edge of the bottom half to seal up the bottom.
3. With the 3/16" corner rounder round the top two corners--this gives it a more professional look.
4. Create your sentiment for the inside. Here, I used the scallop oval and large oval punch out of bermuda bay  & whisper white and stamped it with the "thank you" from the Short & Sweet set--inked in soft suede to match the paper, of course!
5. Next, to create the belly band cut a 2 x 9" coordinating piece of DSP and wrap it around the package overlapping the ends in the back and closing with snail adhesive.
6. Slide the belly band down, fold the top half down and then slide the belly band back up and over the top half. The belly band should cover both top and bottom edges.
7. Decorate and embellish as desired on the front. Here, I used the Daisies #2 Sizzix die with more coordinating DSP.
Super quick and super cute, eh?!
Supplies:
stamps: Short & Sweet
paper: Bermuda Bay & Whisper White CS, Thoroughly Modern DSP
ink: Soft Suede
extras: Corner Rounder punch, Scallop Oval punch, Large Oval punch, Daisies #2 die

 Everyone brought their own pair of plain flip-flops and using the Daisies #2 die and the Big Shot we cut 3 flowers out of various materials including sparkly felt, craft foam and glitter foam. The Circles #2 die cut a coordinating circle which was made into a "button" with two punches of the Crop-o-Dile. We tied it all together with some ribbon. Aren't they darling?

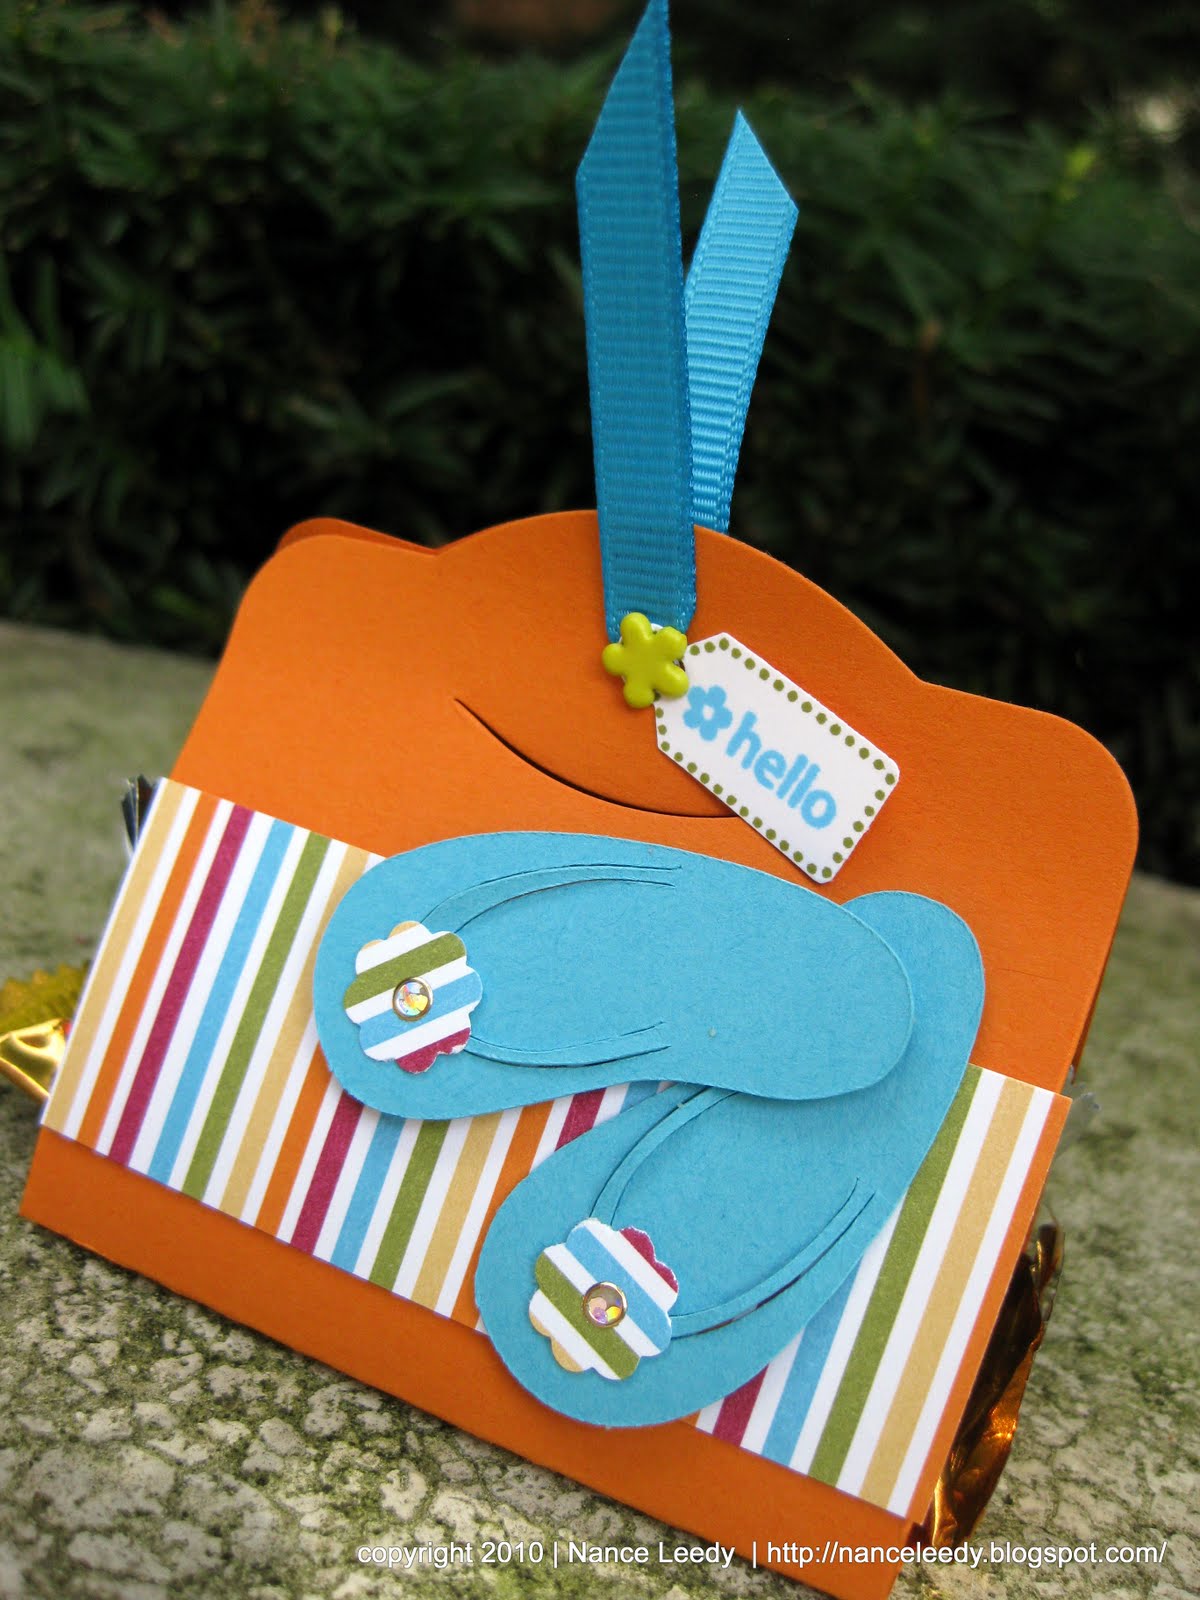
 Can't leave without showing you the table favors mom and I made using the Two Tags die and Island Oasis DSP inspired by these beauties from Monika Davis. My clever mom created the flip flops on her Cricut--how stinkin' cute are they?!
 Here's a shout out to everyone who came to the party--I hope you all had as much fun as mom and I did. Thanks for a great evening!
